Here’s my new high-productivity workflow design for blogging. We’ll see how well this works, and how long it lasts. So far it’s gotten this post out.
I’m using Google Chrome, Google Docs with Google Voice Typing Markdown, Nimbus Screenshots and Markdown Here Blogger, Grammarly, Github and maybe someday Gatsby. Because you know I’m Mr. Geek. Maybe I’ll use Markdown Monster
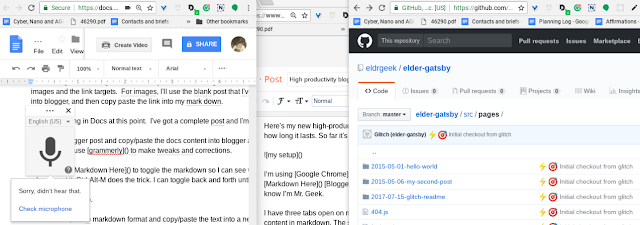
I have three tabs open on my computer. One is a Google Docs document. I use it for drafting the content in markdown. The second is a blogger page with a blog post that I’m going to eventually publish. I’ll also use it for importing images. The third is a GitHub repo that I’ll use to store the markdown for possible later use. The repo is the framework for a Gatsby blog. Maybe I can publish it later. Maybe. We’ll see. Who knows?
The workflow goes like this.
I use Google Voice Typing in Google Docs to draft the post. I’ll write something later about how I use it.
Honest. I promise.
If you want to tell markdown to turn text into a link, you surround the text with square brackets and follow it with the link URL in parentheses. For an image, you use an ! followed by the alt text in square brackets, and then the image Link in parentheses. So neat. Any pair empty parentheses is a TODO item. I’ll fill in the parentheses later.
Honest, I will.
Once I’ve got something with complete text, it’s time to go into research mode, and fill in the parens with image and the link targets. If I have to make an image myself, I’ll use Nimbus download the text and then use the blank post to import the image into blogger. Then I’ll copy paste the link into my markdown.
Not clear? I’ll explain it in more detail in another post. I swear I will.
So now I’ve got a complete post in markdown in Docs and I’m ready for the next step.
I clear the blogger post and copy/paste the docs content into the post as plain text. Now I can use Grammarly, which does not work in Docs but does in blogger, to make tweaks and corrections.
Finally, I use markdown here to toggle the markdown so I can see what it’s going to look like when I post it.
Ctrl-Alt-M does the trick. I can toggle back and forth until I’m satisfied.
Now, the final step.
I restore the post to markdown and copy/paste the text into a new file in the GitHub repository (and save it, of course, you idiot).
I will store the markdown drafts in subdirectories, based on the blog I’m writing for. Is that a good idea? I don’t know. I’ll worry about that later. Honestly. I really will. I promise.
Gatsby blog entries need to have front matter that looks kind of like this:
---
title: <some title>
date: <some date>
path: "/hello-world/"
---
So I will kind of stick something in there that kind of looks like that.
Then I have to convert the Blogger post back from markdown (don’t forget!).
And finally, I post the m*************.
Simple, right!
We’ll see how it goes.
So the checklist:
- Draft the post in Docs with Voice Typing.
- Fill in the parens, creating and uploading images as needed.
- Copy to Blogger and check out the markup.
- Restore to markdown format and save in GitHub
- Convert the markdown and post
Easy!
No comments:
Post a Comment